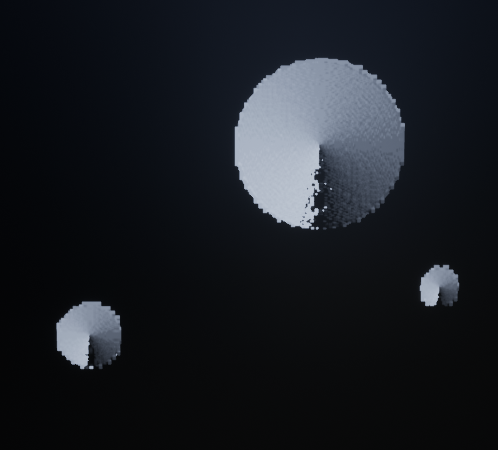
Progress Update #10
Gas Giants in UE4
I have been dealing with terrestrial planets for quite some time now, and the solar system is looking a bit bland. It is time to tackle gas giants. (p.s. this is going to be more technical art than the usual C++)
Research
Since I wasn't following any sort of tutorial, I was starting completely from scratch with this one. Doing some simple google research reveals that gas giants do have a solid core, but the "surface" of the planet that we see is made of gasses. For the game, this meant I could use a simple sphere for the mesh and add all of the detail through the material.
I intend to use an icosphere for this purpose because of its even distribution of faces and its less distorted UVs. For now though I am using the standard unreal UV sphere which causes distortion near the poles and is more jagged near the equator.
Thinking about how I could replicate the look of a gas giant in a game I came up with a list of requirements for the material. It would have to have:
- Latitudinal bands of color
- Disturb those bands with a little noise so they aren't perfectly flat
- Have the bands move
- Movement between adjacent bands should be in opposite directions
- Storms (e.g. Jupiter's big red spot) should swirl adding more disturbance to the gas layer
Additionally, I found this image of a gas giant which I used for reference as it has all the qualities I listed above (except movement because it's an image).
I also found two other blogs that talk about making a gas giant texture which I used for guidance along the way. John Whigham's Blog & Matthias Schmidt's ArtStation
The Material
I started off the material by doing exactly what I had done for the terrain faces on the terrestrial planets: make a material instance, assign it to a data asset on the planet, then make a dynamic material instance for that specific planet and set that as material index 0. In retrospect I probably could have gotten away with just a static instance, but the dynamic instance allows me to change things at runtime if I ever want to.
I then reused the texture generation code from the color generator, tweaking it slightly to only require one color gradient and to make it always output a 256x256 texture. At this point, bullet point one is complete.
To disturb the perfect boundaries I used the technique of layers of noise with decreasing levels of influence. A breakdown of how this effects the colors of the planet can be seen in John's blog post. Here is what my implementation looks like in the material editor and applied to the planet.
Making the gas "move" was really easy. I just added a panner with a speed of 0.05 to the most intense noise layer like so:
The first two bullet points are done so I tried my hand at getting the bands to move in opposite directions. I found two material functions I thought could help with this called GeneratedBand and GeneratedOffsetBands. Both functions create flat bars that are between 0 - 1 just with the difference of a 'Bands' scalar parameter.
So I thought I could plug this into the speed of the panner and so the areas with a speed of 1 would go one way and the areas with a speed of 0 would go the other.
This did work but it looked really bad because of the crispness of the bands. Thus I shelved bullet point 4 for a later date.
Storm Spots
The last point I wanted to accomplish by far took me the longest to solve. Getting storms to swirl was absolutely necessary though as it is a feature of every gas giant and adds more variance than just random noise sprinkled over the sphere.
Starting with John's blog as a guide, he uses a voronoi diagram to map out the position and strength of each cyclone. This is a very good idea which I will come back to at the end. However, in the moment I couldn't figure out how to get a voronoi texture to give me the same result.
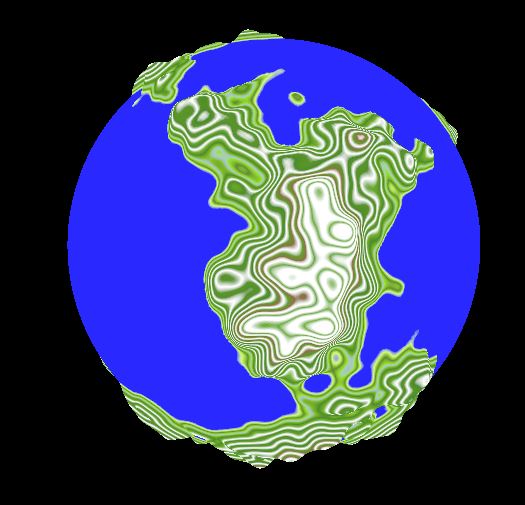
I started to scower the web for possible solutions: noise algorithms that produced swirls, rotator nodes... at one point I created this image in gimp and needless to say it didn't help at all.
This is when I came across Matthias Schmidt's ArtStation post about making a gas giant in Substance Designer. It's a well documented article on how they made it, but what I was more interested in was the beautifully swirling storms that were part of it. He shows his use of "flow maps", a term I've never heard before (probably because I'm not an artist), to create these swirls.
A bit more internet excavation later and I found this gem of a video showing how to make flow maps from heightmaps in UE4. So I went back to my material with this test image as a heightmap to see what I could do.
That "heightmap" game me this flow map. I don't know what caused it to be so grainy and noisy but that's a problem for another time.
I then created a little MS Paint diagram of what I was doing to try to better understand the problem.
Red: Original heightmap value
Green: Flow map value
Blue: 1 - flow map value (ended up not being used)
Black Arrows: The desired vectors at that point on the circle to be used as UV offsets for the swirl
After a decent amount of trial and error, here's what I got:
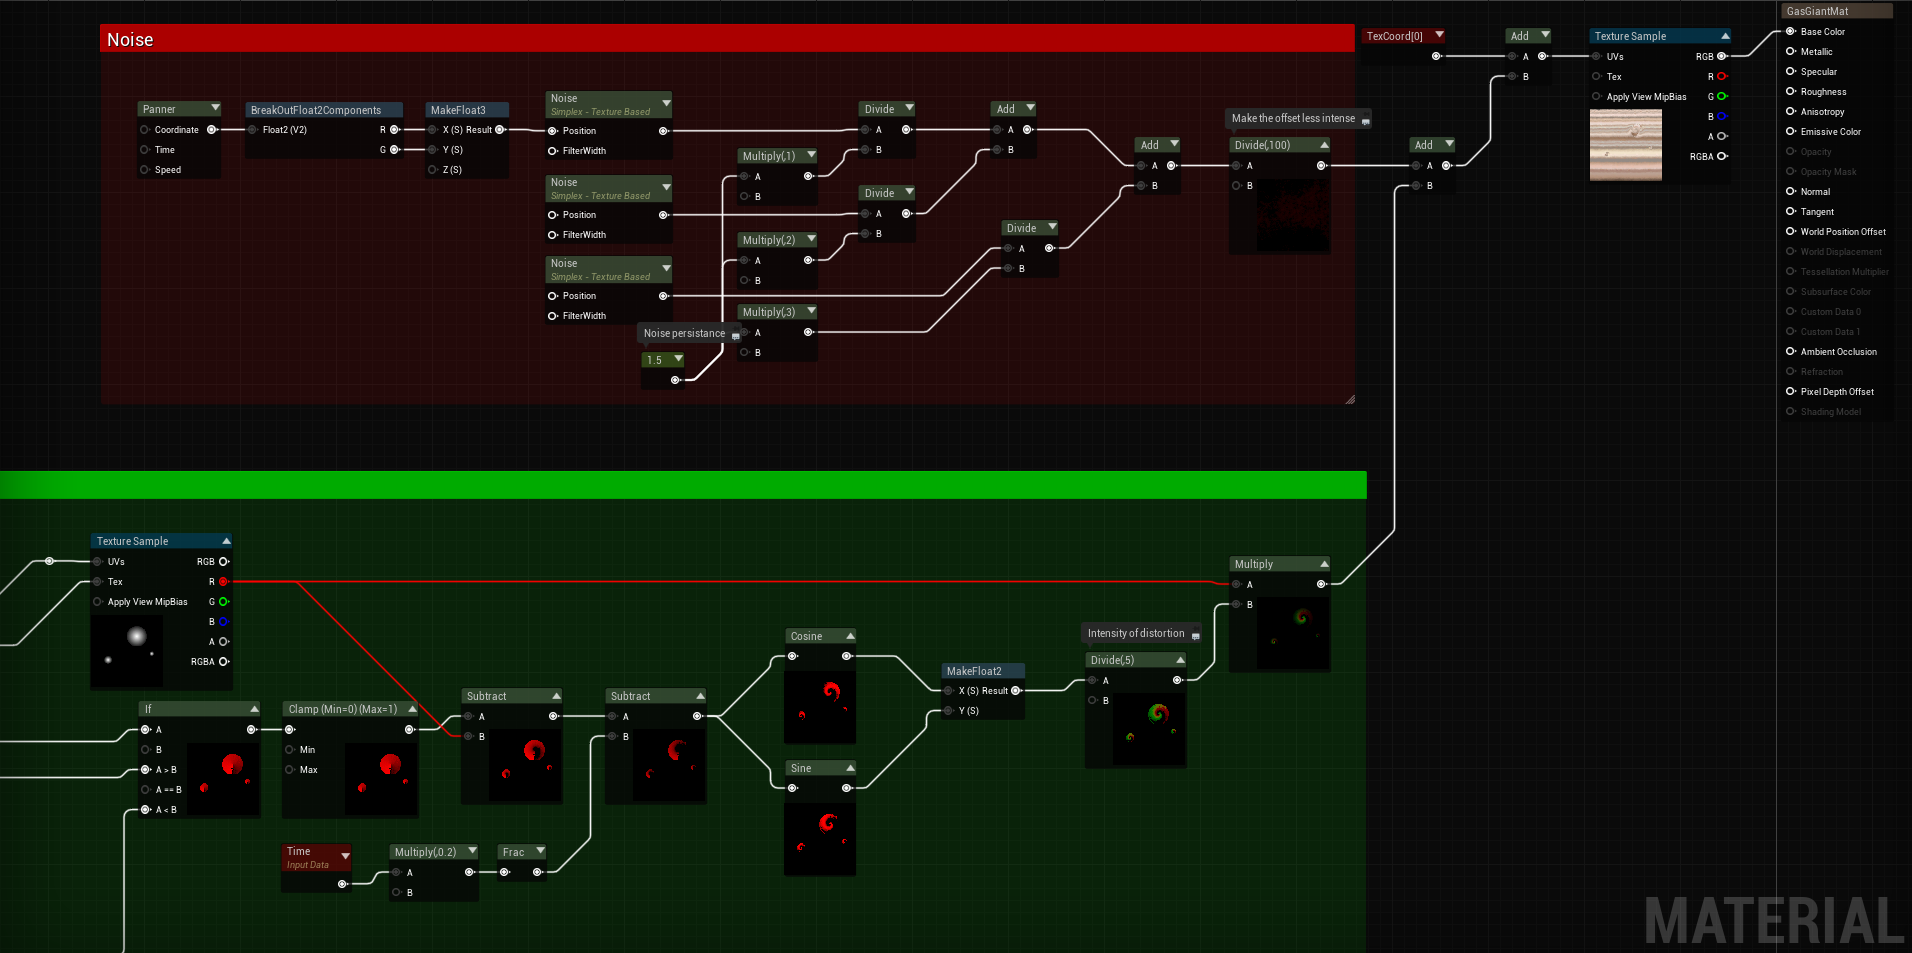
Coming out of the if in the bottom left is the flow map. The flow map is from -1 to 1 so to keep the values positive we need to clamp it between 0 and 1. The heightmap falloff is then subtracted to make the influence stronger near the edge (which is what the very complex formula from the top left of the diagram is trying to convey) and to fix an issue where the center of the vortex would go black.
Subtracting time is what then makes the vortex spin. We then make a 2D vector from the cosine and the sine of this value and this is the most important part. Because cosine and sine will always return between -1 and 1 (values from the paint diagram), and they have the same value at the start of a period as the end, means that the cycle will repeat seamlessly even when the time frac resets back to 0.
We then divide by 5 for the same reason we divide the noise by 100 which is to limit the distortion applied to the UVs. Finally we multiply by the heightmap to give a smoother transition back to the 'regular' texture.
Here's what it looks like in action projected onto a flat plane:
Final Thoughts
In the future I ideally want the storm heightmap texture to be procedurally generated like everything else in the game. As I said earlier, I really like the idea of a voronoi diagram to create those spots. This would be possible, I just don't quite know how I can create a texture like that and have it tile correctly with the UVs.
I also want to fix the pixilation of the flow map. It looks fine from a distance so it's ok for now (minimum viability and all) but when you look closely it is hideous and messy. The video for the flow map said to use anti-aliasing on the heightmap to normal map conversion so I'll look into that but I know that AA can be pretty expensive so I want to see all the options.
The last thing that I might look at is the opposing movement of adjacent bands of gas. I'm starting to think that it's less important and that as long as the overall gas is moving the illusion is close enough.


Comments
Post a Comment